

meta-llama/Llama-3.1-8B-Instruct model from Hugging Face.
Requirements
You’ll need:- A Runpod account with an API key.
- Python 3.8 or higher installed on your local machine.
pip(orpip3on macOS).- Basic utilities like
curl.
Windows usersUse WSL (Windows Subsystem for Linux) or Git Bash to follow along with the Unix-like commands in this guide. Alternatively, use PowerShell or Command Prompt and adjust commands as needed.
Set up dstack
Install and configure the server
Configure dstack for Runpod
Create the global configuration file
Create a Replace
config.yml file in the dstack configuration directory. This file stores your Runpod credentials for all dstack deployments.-
Create the configuration directory:
- macOS
- Linux
- Windows
-
Navigate to the configuration directory:
- macOS
- Linux
- Windows
config.yml with the following content:YOUR_RUNPOD_API_KEY with your actual Runpod API key.Start the dstack server
Start the dstack server:You’ll see output like this:
Save the
ADMIN-TOKEN to access the dstack web UI.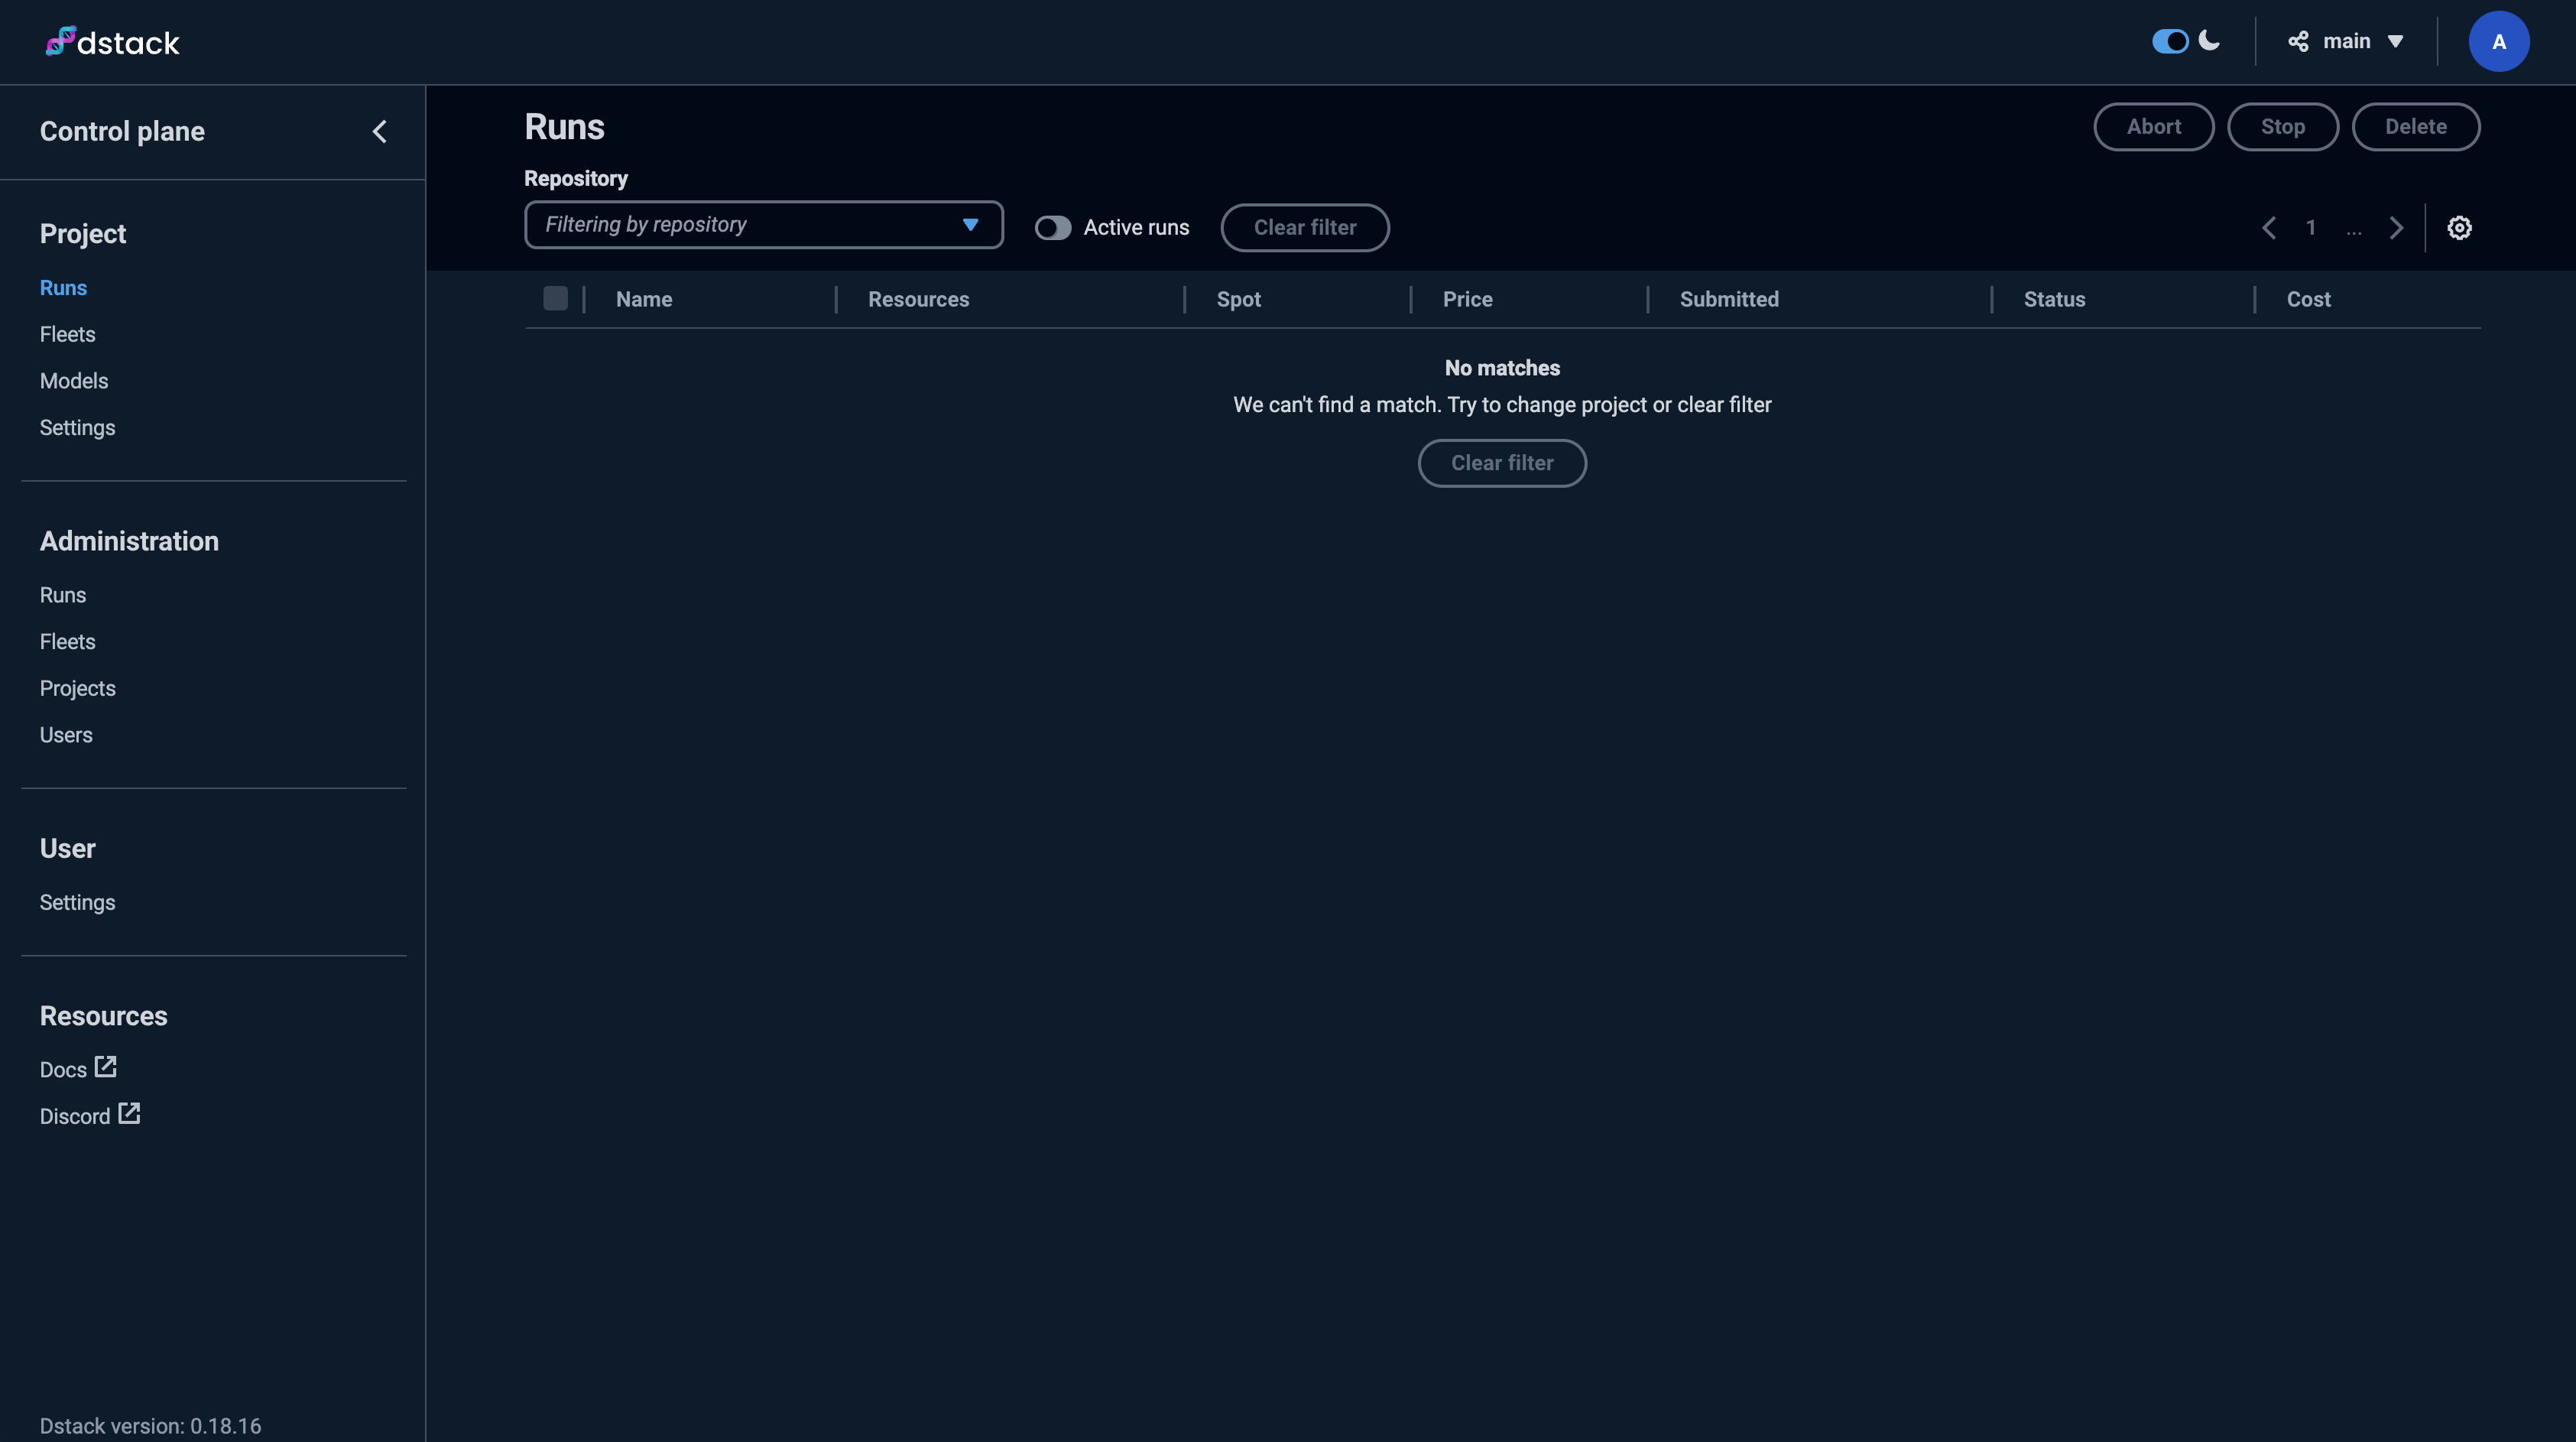
Deploy vLLM
Configure the deployment
Prepare for deployment
Open a new terminal and navigate to your tutorial directory:Activate the Python virtual environment:
- macOS
- Linux
- Windows
Create the dstack configuration file
Create a file named
.dstack.yml with the following content:Replace
YOUR_HUGGING_FACE_HUB_TOKEN with your Hugging Face access token. The model is gated and requires authentication to download.Initialize and deploy
Apply the configuration
Deploy the task:You’ll see the deployment configuration and available instances. When prompted:Type
y and press Enter.The ports configuration forwards the deployed Pod’s port to localhost:8000 on your machine.Test the deployment
The vLLM server is now accessible athttp://localhost:8000.
Test it with curl:
- macOS
- Linux
- Windows
Clean up
Stop the task when you’re done to avoid charges. PressCtrl + C in the terminal where you ran dstack apply. When prompted:
y and press Enter.
The instance will terminate automatically. To ensure immediate termination, run:
Use volumes for persistent storage
Volumes let you store data between runs and cache models to reduce startup times.Create a volume
Create a file namedvolume.dstack.yml:
The
region ties your volume to a specific region, which also ties your Pod to that region.Use the volume in your task
Modify your.dstack.yml file to include the volume:
/data directory inside your container, letting you store models and data persistently. This is useful for large models that take time to download.
For more information, see the dstack blog on volumes.